The experiment builder is one of the two main windows of ETHermodynamics.
In it, you can set up your experiments. When you run an experiment, the Experiment viewer will open.
To add new components, use the buttons on the left.
To modify the properties of components, use the right-hand tab-pane.
To add new stages, and navigate between stages, use the bottom timeline.
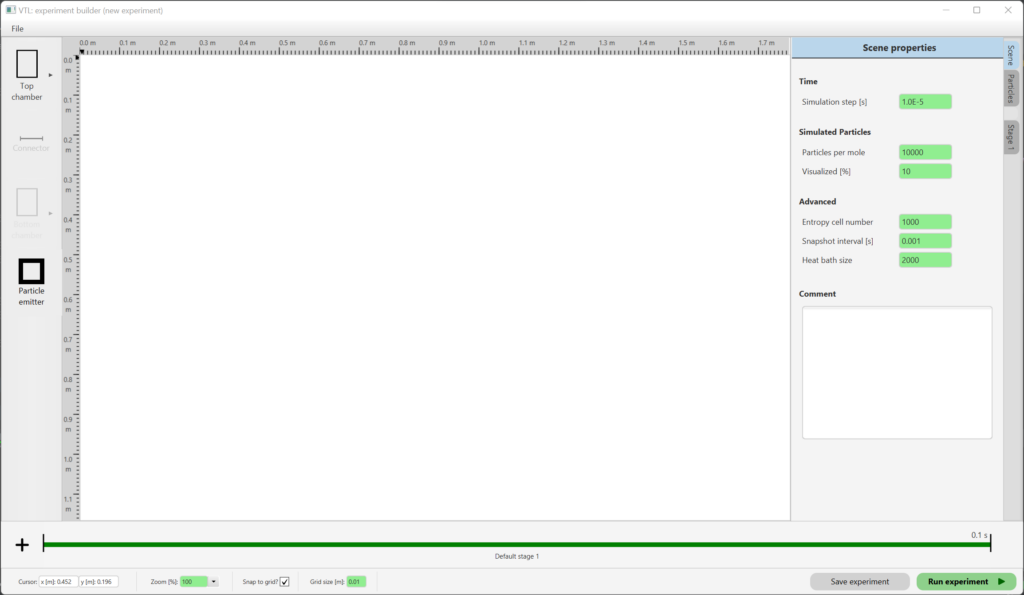
Overview
The experiment builder in ETHermodynamics is is where you set up experiments to simulate. It is layed out into 5 regions:
top: a menu bar.
left: a toolbar to add new components to the system.
center: a view of the system.
right: a tab-pane containing the settings for different system components.
bottom: a timeline of the stages added to the system, and a toolbar for minor settings.
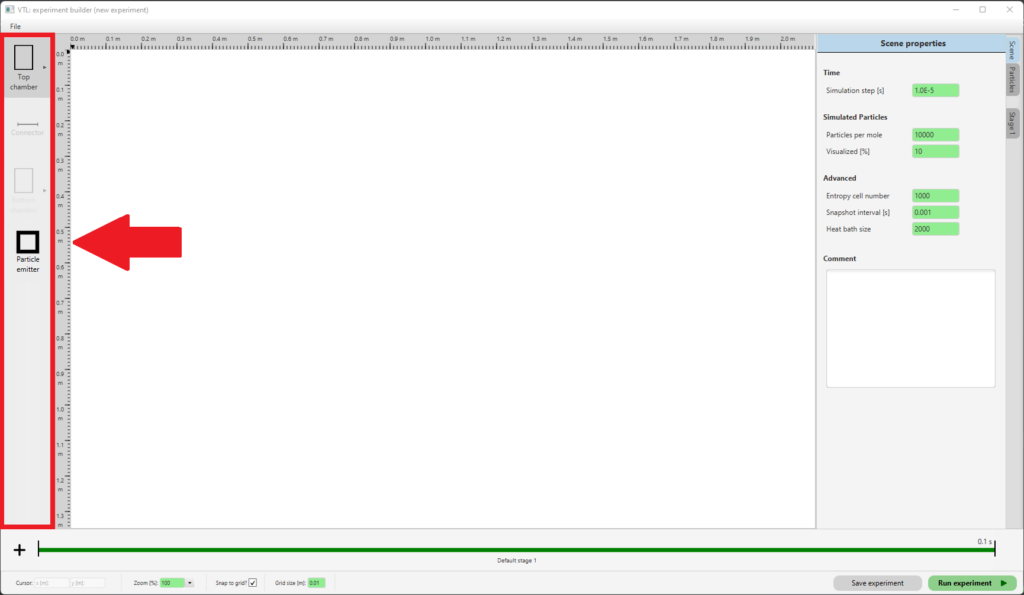
Adding new components
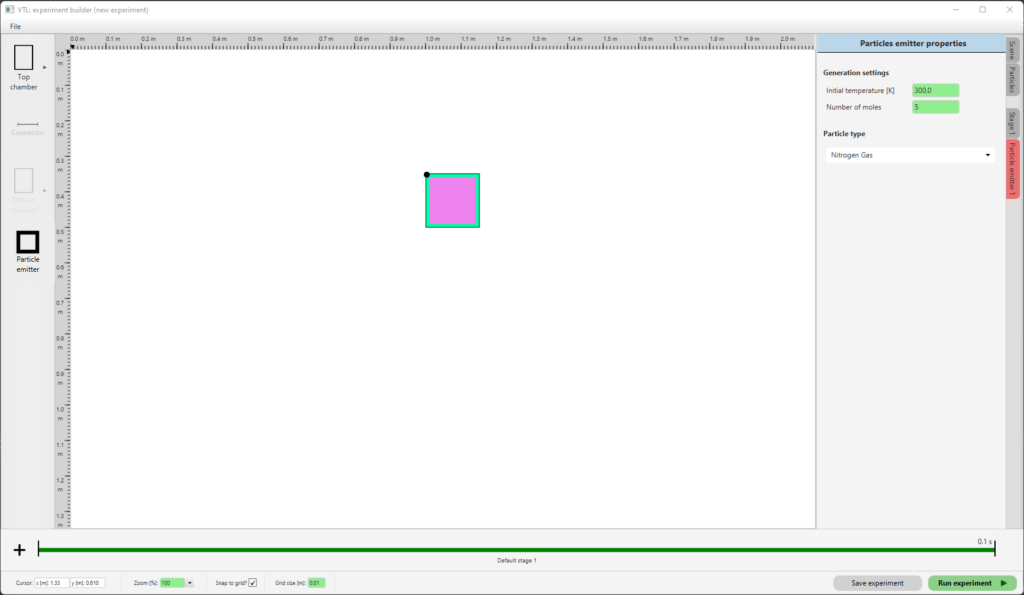
On the left of the experiment builder, there is a toolbar. You can add new components to the experiment using this toolbar.Click the “particle emitter” button at the bottom of the toolbar. You just added a component that allows you to add new particles to the system. It shows up in the centre, your system view.
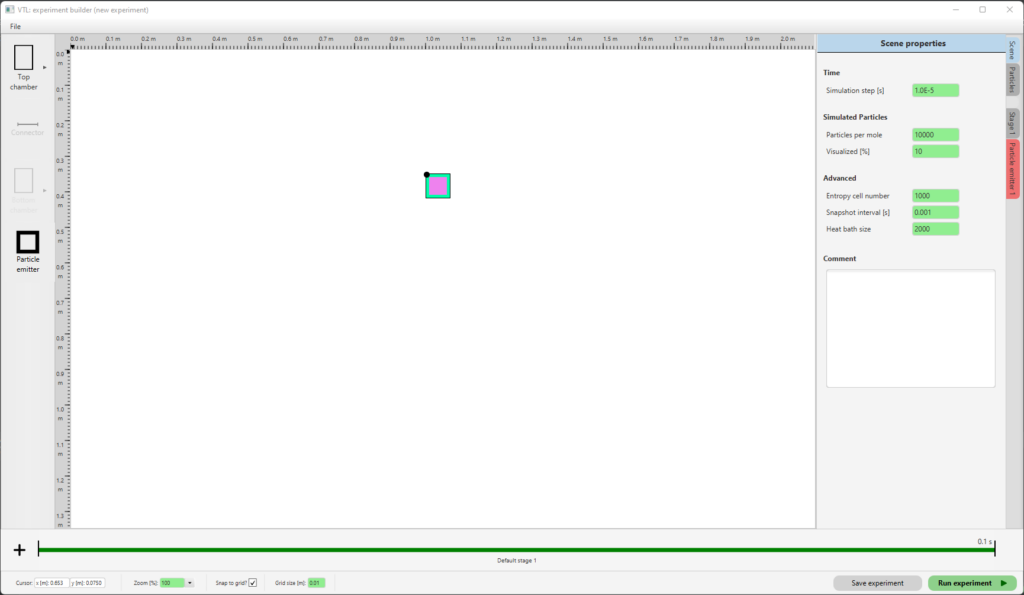
Properties tab
On the right side, there is a tab pane. There, you can modify the properties that define your experiment, including those of components you added.In the properties tab pane, navigate to “Particle emitter 1”. Set the “number of moles” property to a different number, for example 5. The particle emitter will now spawn 5 moles of particles instead of 1.
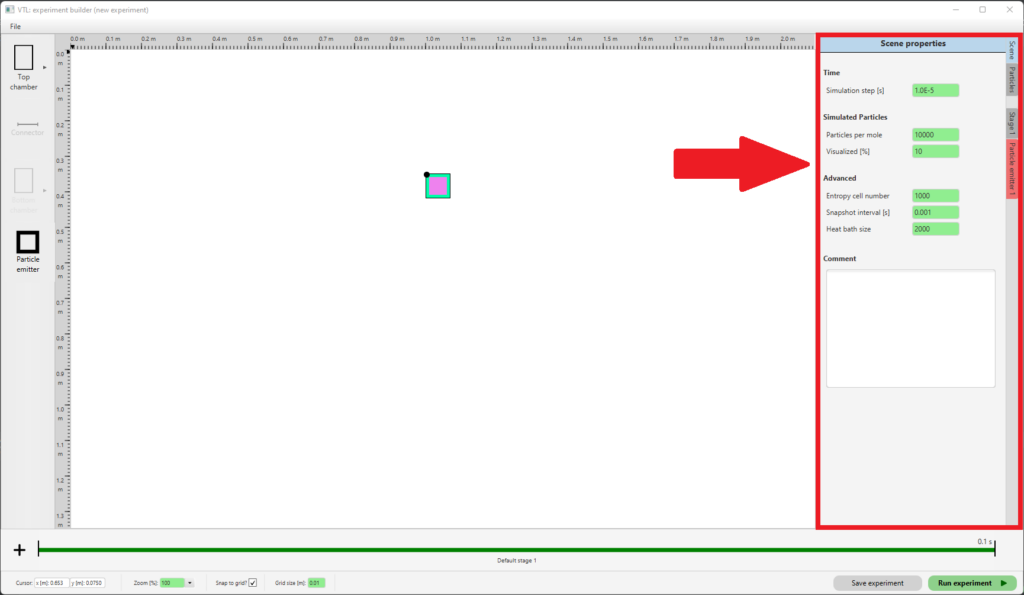
Errors
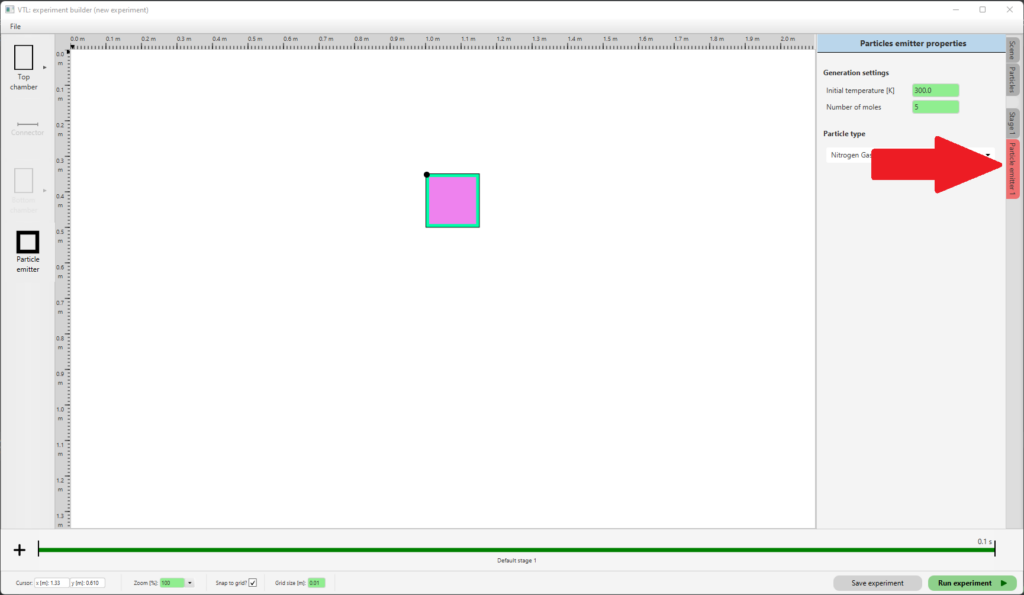
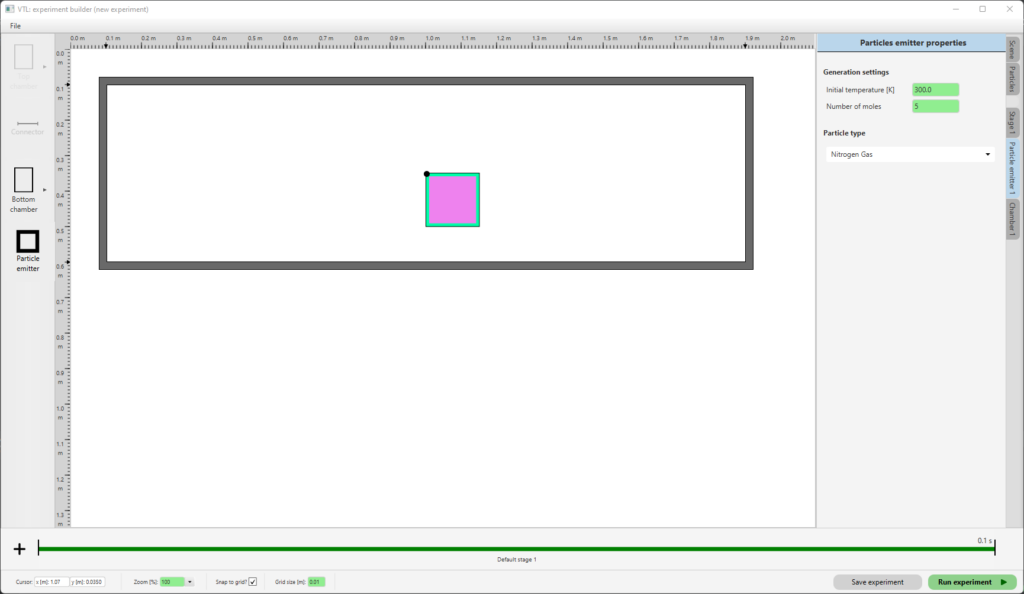
You might wonder why the “Particle emitter 1” tab is colored red. The reason is, that there is an error! A particle emitter needs to be placed in a chamber, so it knows where to generate particles. You won’t be able to run the experiment like this.Navigate back to the toolbar on the left. From “Top chamber” select “Chamber”. The particle emitter is now placed in a chamber, and the error has disappeared.
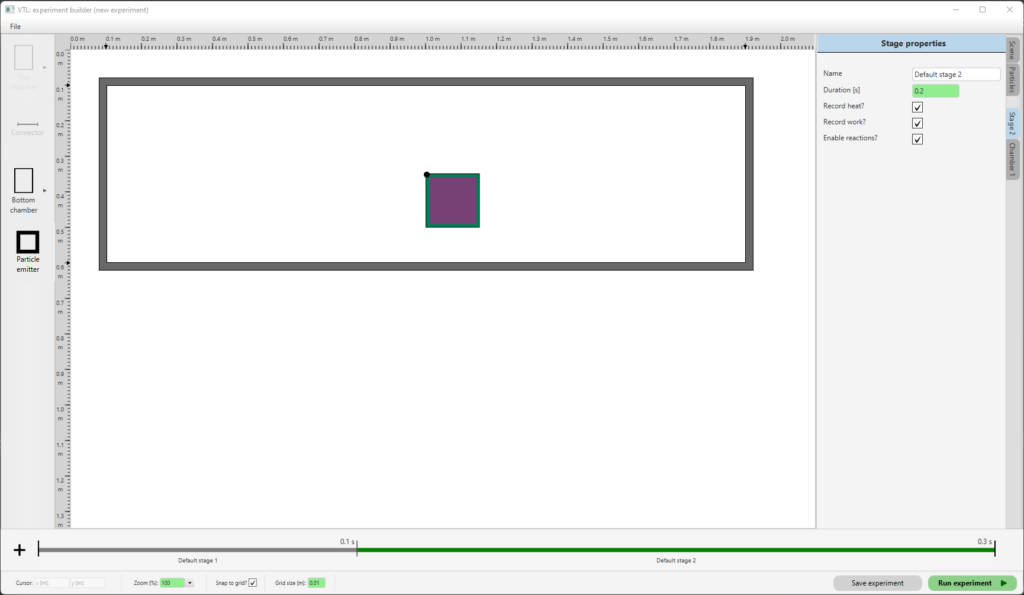
Stages
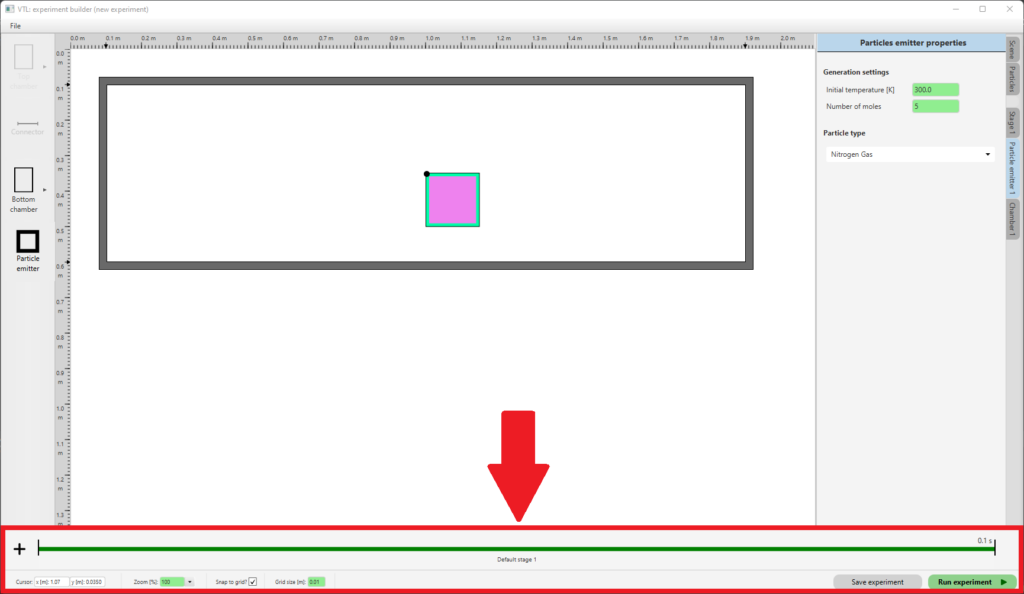
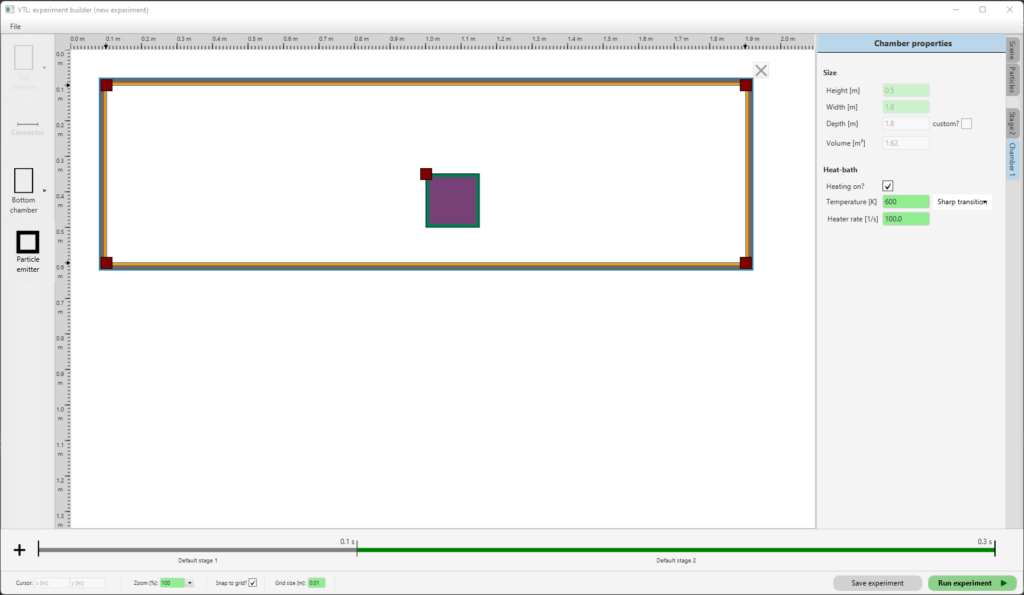
At the bottom of the experiment builder, you can see a timeline of the experiment. The timeline in ETHermodynamics is structured in distinct stages. Some components-properties can change from stage to stage. There is always at least one stage.Add a new stage by clicking the plus-sign at the bottom left. You are automatically navigated to the new stage (you can navigate back by clicking on a different stage in the timeline). Navigate to the “Stage 2” tab on the right, and increase the duration to 0.2s.Now, navigate to the chamber properties. YOu can click on the tab, or you can click on the chamber in the scene view at the center. Place a tick under “Heating on?” and set the “temperature” to 600K.
Save & Run
You are ready to go! At the bottom right, you can save your experiment and then click run! A new window will open, the Experiment Viewer – check out the Wiki article to learn more.